… helping you get a bit smarter
How to Make Beer – Part 2
Three days in…
By now, you should have a fermenter bubbling nicely. You are now looking for an opportune time to rack your brew. This gets it off that initial mass of yeast, which causes “yeast taint”. You need to judge this – you want to pick a time when the bubbling is starting to slow but has definitely not stopped.
Tip 5: Until now, the airlock is just an indicator of brewing activity. The bubbling is CO2 and this sits on the beer, as it is heavier than air, and stops the air getting to the beer and making it go off. The airlock is actually an optional extra!
You need to wash out fermenter #2, and rinse the hose. Make sure tap #2 is closed. Place fermenter 1 on a bench, and fermenter #2 on the ground. Connect the hose to the tap of fermenter 1 and remove the airlock carefully, so you can reuse it on fermenter #2. Drop the other end of the hose into fermenter #2 (no lid for now, and open the tap on fermenter #1. Try to keep the hose under the wort surface to minimise air contact. Stop about 2cm from the bottom to avoid picking up and yeast.
Once transferred, place lid and airlock on fermenter #2.
You need to clean fermenter #1 again now as before, as well as hose, and bottle filler. Place these items into the fermenter with sterilizer for now and put to one side, to prepare for the “Bulk Priming” stage just prior to bottling.
Tip 6: There is no rush! If you can see the fermenter #2 bubbling again, you can let it go until it stops and then some more. 2 weeks is OK. Just keep the temperature in the desired range.
Bottling
Two weeks in and the brew bubbling has slowed, and has now stopped. (If you get one bubble every 15 minutes through the airlock, you can take it as stopped)
Preparing the Bottles
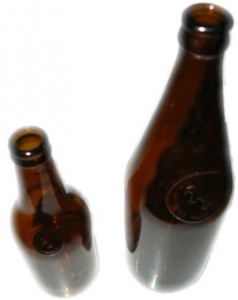
I am lazy! Bottle washing and sterilizing is a really boring job, so I do my best to avoid it. This is how you can avoid washing and sterilizing bottles:
Tip 7: Whenever you drink your homebrew, rinse your bottle well three times immediately after it is emptied.
Tip 8: If you have got well rinsed bottles, clean and sterilise your bottles by placing them in the dishwasher, with no soap, and on the hottest wash prior to bottling – cleaning and sterilizing DONE!
Bulk Priming
Priming is the placement of a little sugar in the bottles prior to bottling, to provide the bottle conditioning which makes the beer fizzy again in the bottle (too much and bottles explode, too little and you end up with flat beer). This is another boring job, especially if you are using 345ml bottles, as there are about 60 of them in your standard batch. Welcome “Bulk Priming” – not only is it easier, but it also means you don’t care about the bottle sizes, and the difference in priming sugar amounts between these bottles.
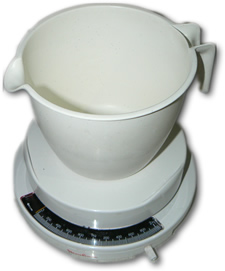
If you are making about 23 litres, you will need 180 grams of dextrose (don’t use cane sugar – ever).
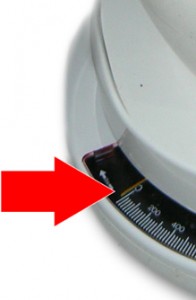
Get your scales, and place your plastic measuring jug on it, then zero the scales. Now add 180 grams of Dextrose. Boil about 1/2 litre of water, and mix in to disolve well.
Rinse out fermenter #1 well including hose and bottle filler, and put the hose and bottle filler to one side (carefully so as not to contaminate them).
Place the priming sugar from the plastic jug into this fermenter (hot is ok)
Finally, you need to again rack fermenter #2 into fermenter #1. If you place the hose at an angle at the bottom of fermenter #1 as you are racking, the brew will self mix. (Just keep splashes and air contact to a minimum). Lightly place the lid on the fermenter.
Filling and Capping
You now have fermenter #1 filled with bulk primed beer and ready to bottle.
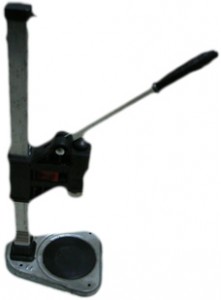
You need a bench capper – don’t bother with a hand capper because you will break bottles. Another great thing about a bench capper is that you can use the crown seals to cap screw tops – very cool! Arrange your bottles into size so you are not constantly adjusting the bench capper. Place the bottle filler onto the tap of fermenter #1.
Cap away – I normally fill about 10 bottles at a time then cap them.
Finally, label the brew.
Tip 9: Don’t bother with the professional label look unless you are giving your beer away – label by writing a code on the cap with a permanent marker. Labels need to be removed, as they clog up dishwashers!
Your beer needs to sit for about 2 weeks before you get fizz. I find that beer should be drunk within about 3-4 months of bottling. I am not convinced vintage beer is a best seller…
Documentation
I like to make a quick note of the brew in a log book. Generally I just record the dates, ingredients and the brewing temperature.

